Cat. # 603446 100015
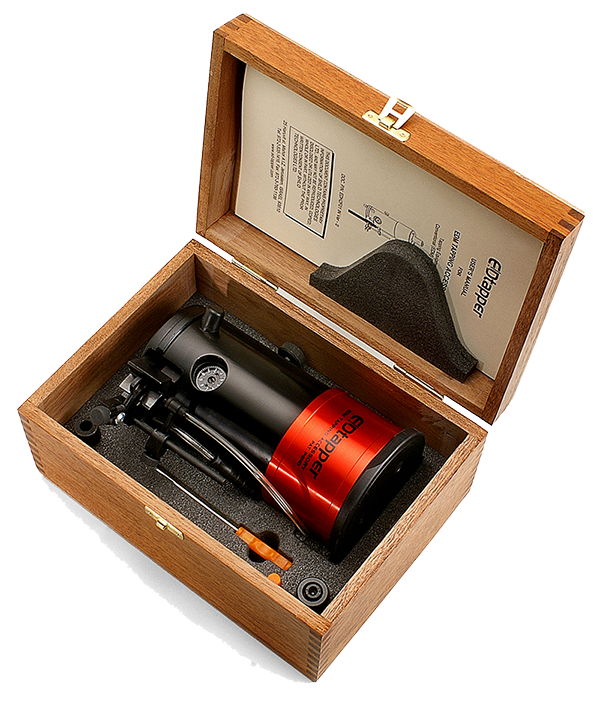
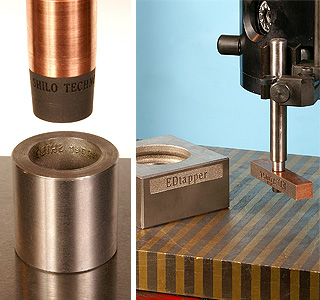
EDTapper millimetric version in wooden box.
Contents:
boss attachment, 42mm gage, key and holder for flat profiled electrodes.
Cat. # 603446 100022
EDTapper inch version in wooden box.
Contents:
boss attachment, 1.65″ gage, key and holder for flat profiled electrodes.
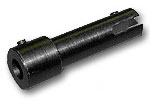
Cat # 603446 100039
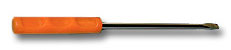
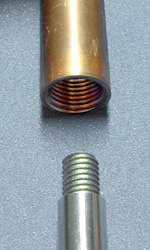
Flat electrode holder. Electrode-to-Shaft attachment.
Cat # 603446 100053
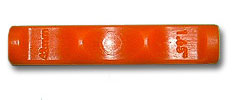
Key
Cat # 603446 100046
42mm (1.65") gage
Cat # 603446 100107
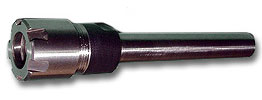
Collet with rubber adaptor (not included)

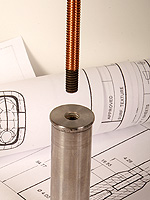
Some results of the EDtapper performances:
Copper electrode on hardened steel
M5 thread to depth of 8 mm takes 12 minutes (roughness 5.2 Ra)
M10 thread to depth of 16 mm takes 18 minutes (roughness 6 Ra)
M12 thread to depth of 20 mm made by 2 steps:
Coarse: 25 minutes (roughness 6.8 Ra) – and then
Fine: 6 minutes (roughness 4.8 Ra)
Similar results in accordance for:
NF10-32 to depth of 0.3”
NC3/8 to depth of 0.625”
NC1/2 to depth of .75”
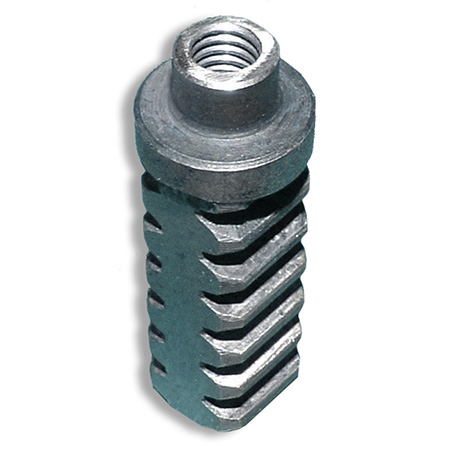
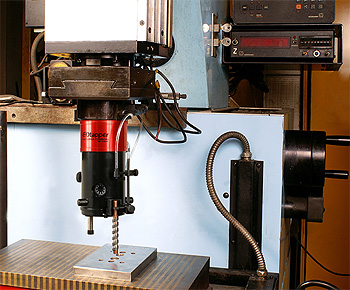
Copper electrode on carbide end mill.
![]()
M6 x 1 male thread* (similar to NF1/4) on 6 mm shank made in 2 steps:
- coarse takes 50 minutes but the thread profile was not full due to electrode tips wear.
- fine takes 40 minutes (roughness 2.24 Ra) .
As it can be seen work duration is much longer than on steel and electrode wear also higher.
Modern machines have exact adjustable conditions for carbide etching.
1
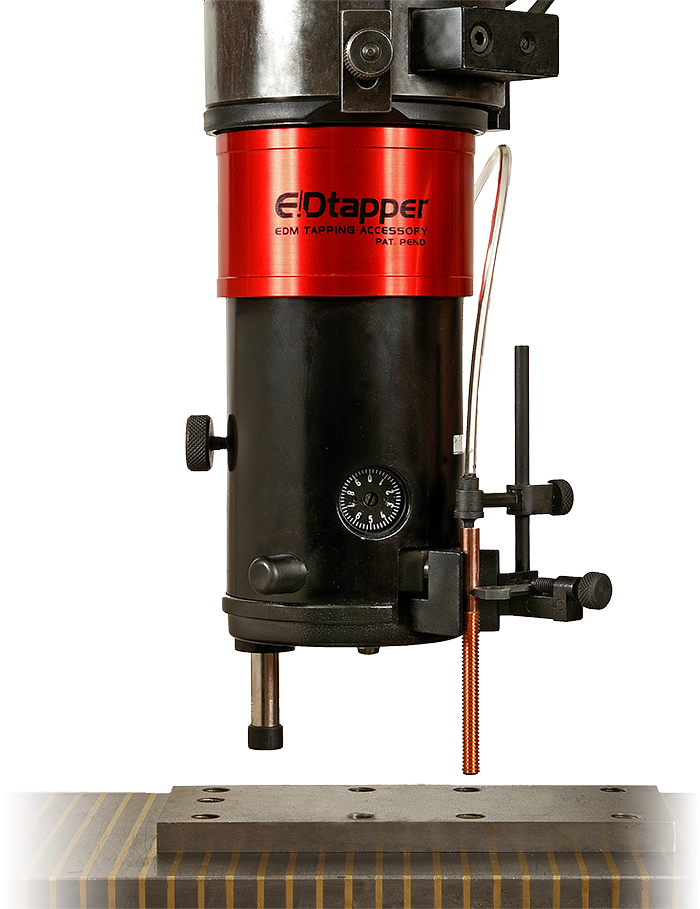
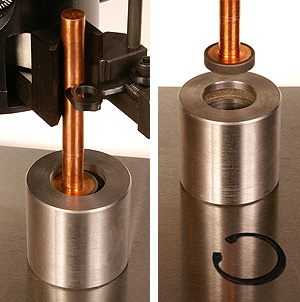
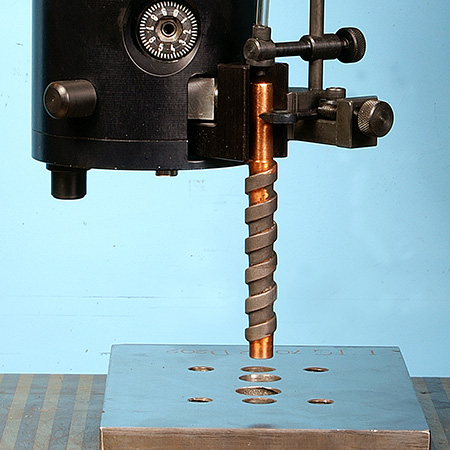
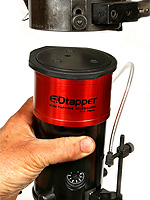
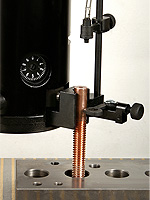
Attach to machine as you would attach an electrode holder using magnet.

1-2
Or attach with shank and then align on the upper plate
2
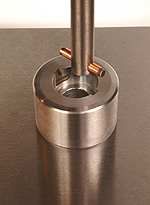
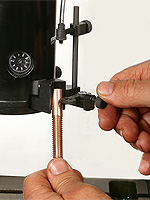
Attach electrode to electrode-holder.
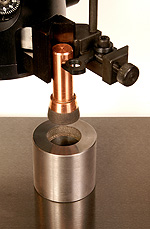
3
Position. (center & depth)
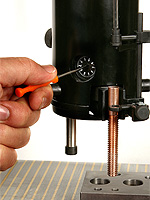
4
Extend and fix base foot to convert vertical to orbital mode.

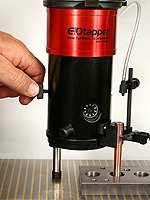
5
set the depth control so that the machine head can descend 1.65" (42mm)
6
Adjust horizontal movement scale.
7
OPERATE!